

Indoor Shots – Nikon D5300
May 10, 2025
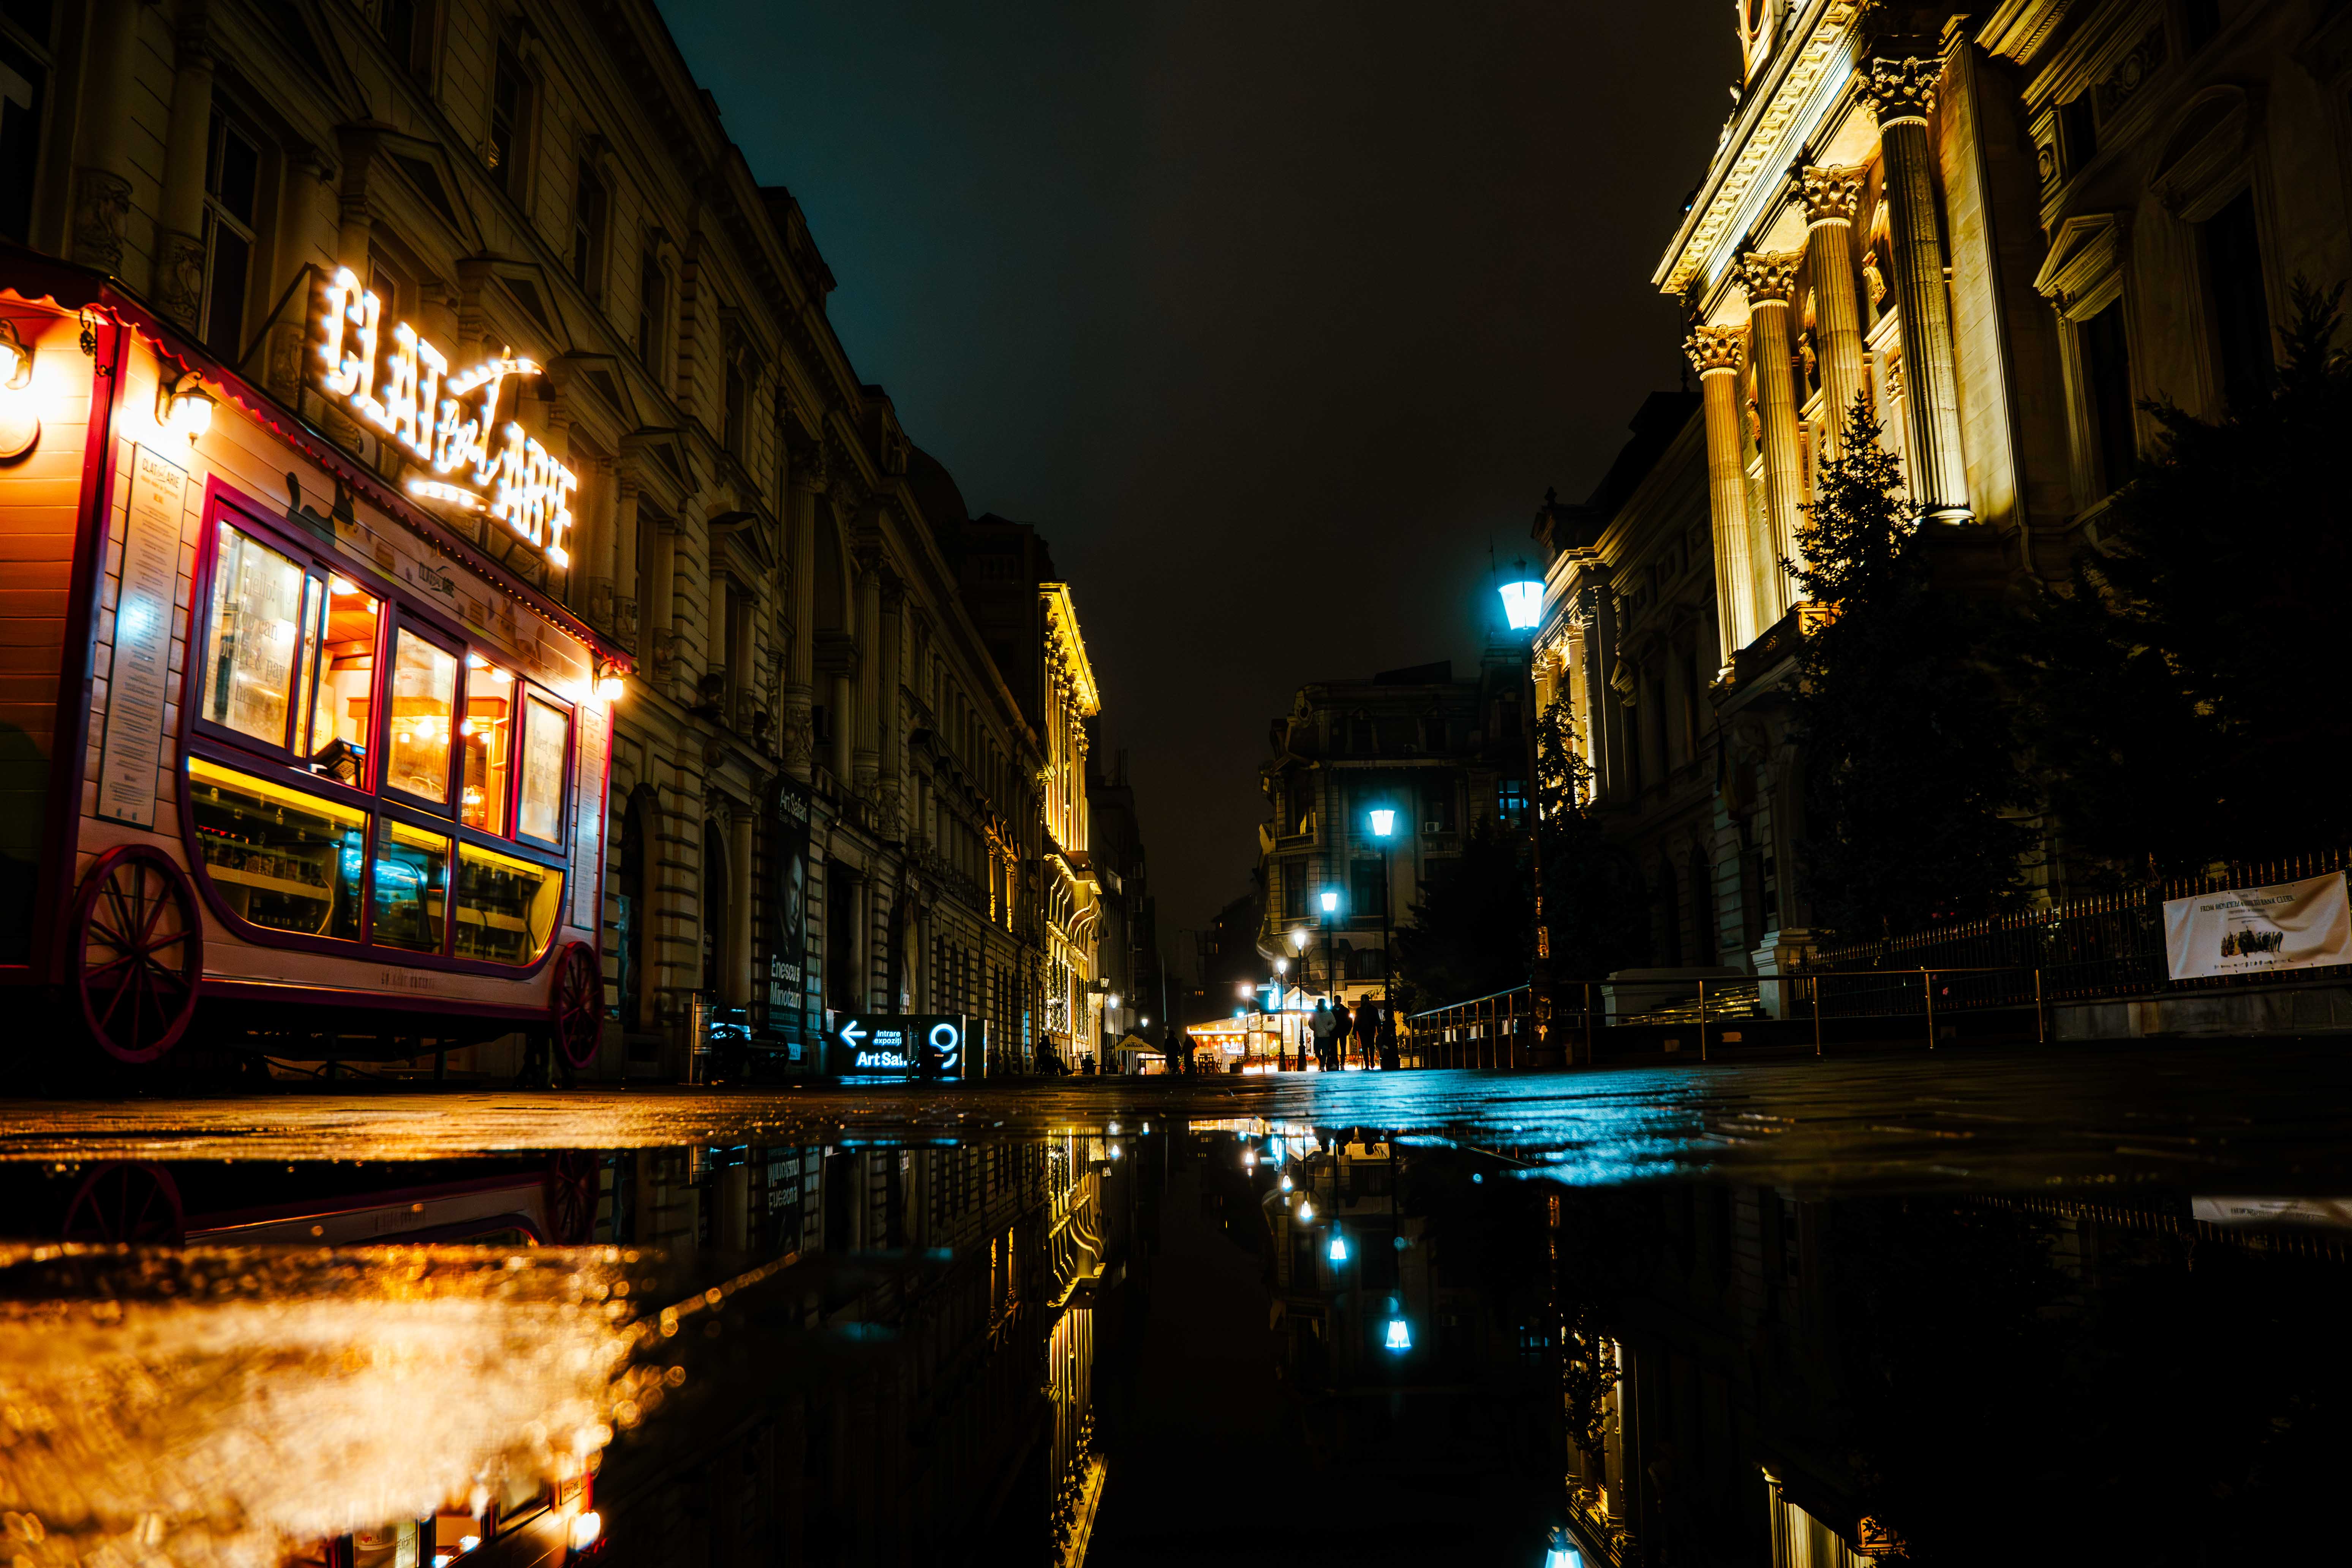
Can high-quality indoor photos be taken with a mid-range camera, specifically the Nikon D5300, without additional gear? How do I set up the camera? Is the built-in flash sufficient? I will begin the article with a brief description, as this is not the focus of this post, about the necessity of using a RAW format. As a general rule, as long as I am not in a tight space where I need to save room, I will exclusively use the RAW format for photos. T...