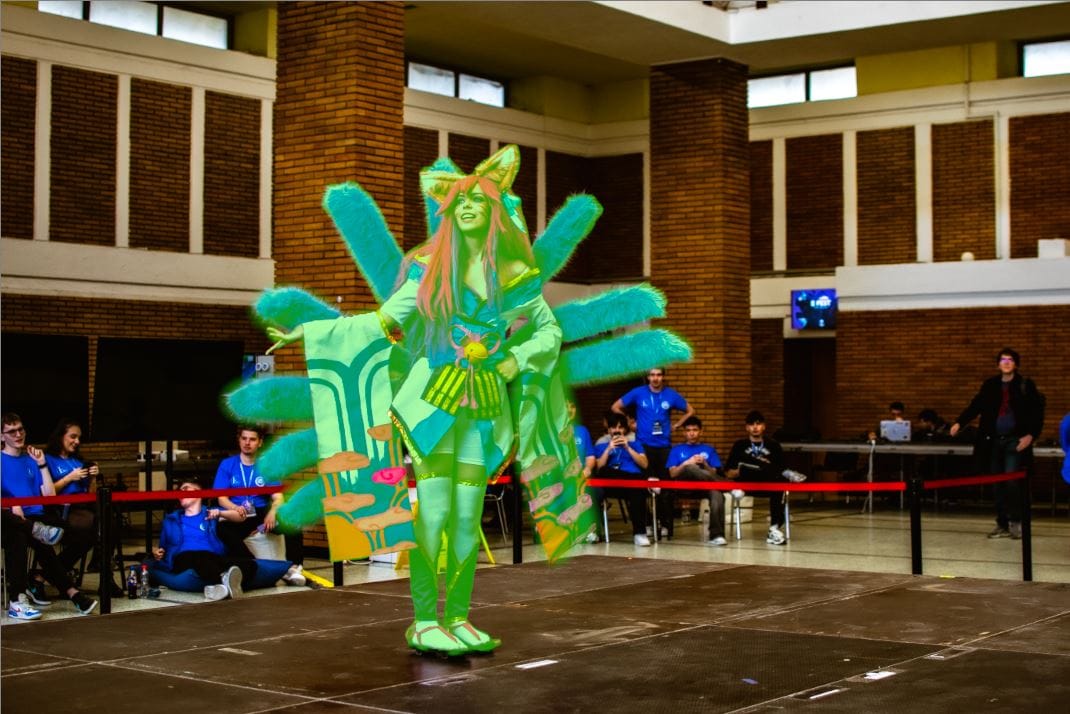
In the following, I will discuss the technique of using AI-powered masks in Lightroom Classic and how I use this feature to highlight my subjects. Assuming you’re not interested in using masks, I still recommend reading the article as I will cover various issues photographers face and how to resolve them, such as:
- The feeling that the photo is hard to look at, struggling to distinguish details of the subject
- Very dark or very bright areas catch my attention as they are immaculate without detail
It often happens, especially in dynamic moments, that we capture the subject in less-than-ideal conditions. We might encounter several issues, such as strong backlighting or a noticeable change in ambient lighting for a few moments. When we develop the photos at home, we might think that many of them are just fit to be thrown away. However, with modern software, we can recover and “process” much deeper than we might initially believe.
The feeling that the photo is hard to look at, struggling to distinguish details of the subject
First of all, this guide is not a beginner tutorial for Lightroom, so I will assume that the following processing suggestions will be applied to an image that is at least correctly exposed and aligned.
A subject that’s hard to look at is often due to the lack of details. This lack is caused by the loss of details in the dark areas. The simplest thing I can do, without getting into details, is to pull the Shadows slider. If we take a look at the Histogram, we can see how it covers the weak light areas in my photograph, which is intuitive and self-explanatory. If we increase its value, we notice how the shaded areas, difficult to distinguish, become lighter, giving them character. Implicitly, my subject becomes easier to look at.

However, this practice comes at a cost! By opening up all the shadowed areas, I lose depth of field. The photo starts to appear more and more flat, lacking character. Moreover, if I overdo it, the effect can become distracting. I may encounter various artifacts, especially in underexposed photos with a high ISO value.
Very dark or very bright areas catch my attention as they are immaculate without detail
Applying a mask to my subject
We will discuss this on an image of mine, which, in its unedited form, had the problems mentioned above.

We can observe how his clothes cast shadows on his abdomen, making the area unclear and distracting. After an edit without a mask, the image became more usable, both by increasing the exposure and with the help of the principles discussed above.

However, I can apply a mask to my subject to highlight him. The mask’s role is to modify the characteristics of the image only in a certain area, in my case, the subject. I will present the steps below.
We will go to the Masking menu located in Develop just below the histogram on the right side, or by using Ctrl+W. A menu will appear, where, after a few seconds, we can see that the program has already identified one or more people in the photograph. We hover over the one (or ones) that I am interested in. We will notice that the subject is highlighted. I select it, and then we can create a mask for different parts of the body. I suggest playing with the multiple options, but for this example, we will go with Entire Person. If, after creating the mask, we notice that it was applied incorrectly, too aggressively, missing or including unwanted parts, we can fix it manually. In the Masks menu that opened, we click on our mask (Mask 1). Then we go to add (if parts of the subject were missed) or subtract (if parts were added incorrectly). Here we will use Objects (powered by AI) or Brush for manual selection. It’s important not to rush, as we will end up working double.
Now we can play with the Shadows slider, as we discussed above. Personally, if the subject has a strong backlight, I will also adjust Exposure. I like to increase the contrast of the subject, but this comes with darker areas becoming more pronounced. I recommend playing with almost all the sliders here, seeing what you like and what you don’t, depending on the application.
The next step, after bringing the subject to life, is to play with the background. So, we will create a separate mask just for the background. This step is very simple. Right-click on Mask 1 followed by Duplicate and Invert Mask. Now the entire image is grayed out, except for the subject, so the mask settings will only apply to the background. Here we can play with Exposure. Another feature I love is the Dehaze option in Effects. Increasing this value, I will notice how my background darkens with a nice effect. From here, I can also manually blur the background using the Texture and Clarity sliders. Another interesting feature for a cool effect is the Defringe in Detail.
The power of this editing mode on this example through comparison here.


